


MyScreamer+ with GPS Tracking for iPhone Only
MyScreamer+ with GPS Tracking for iPhone Only
Couldn't load pickup availability
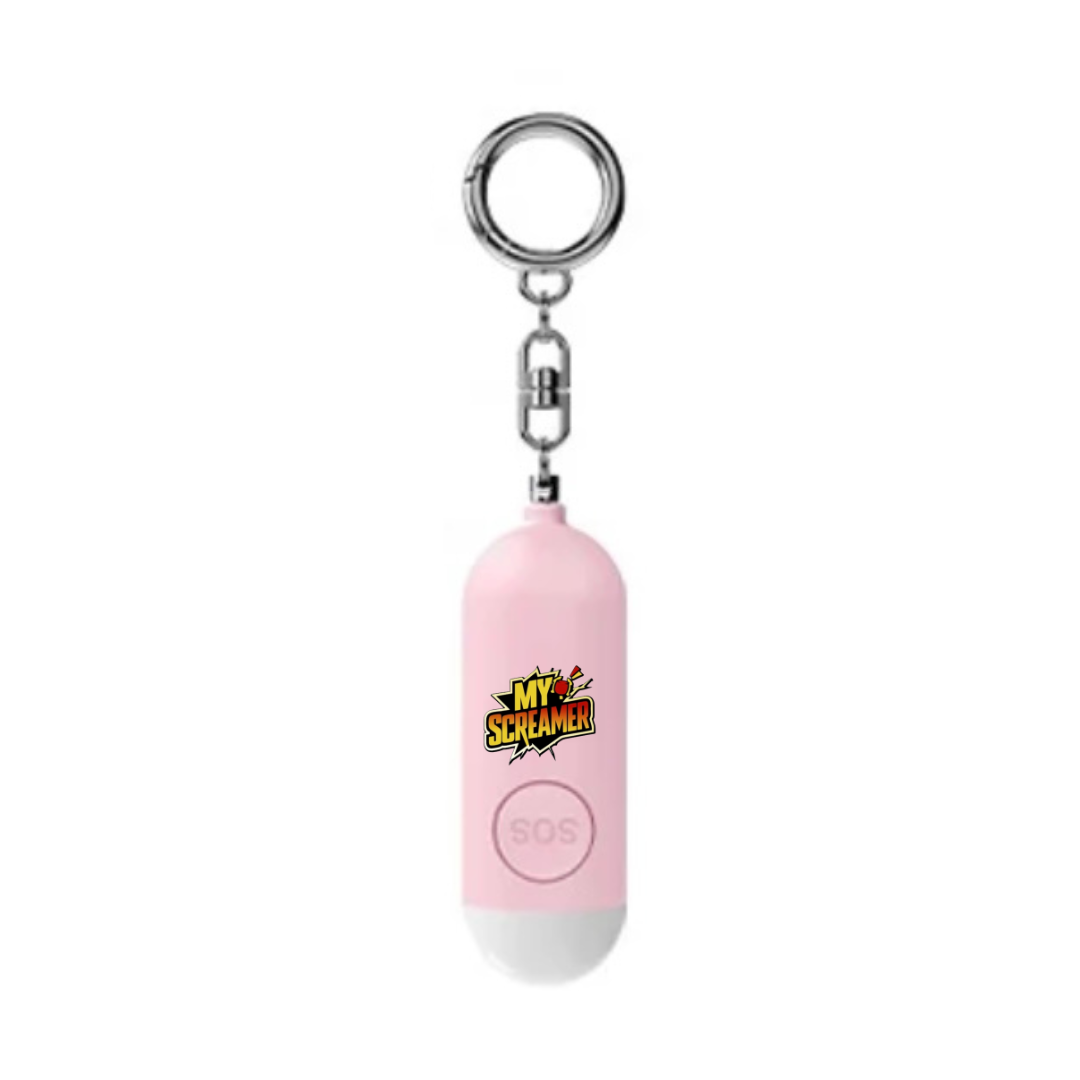
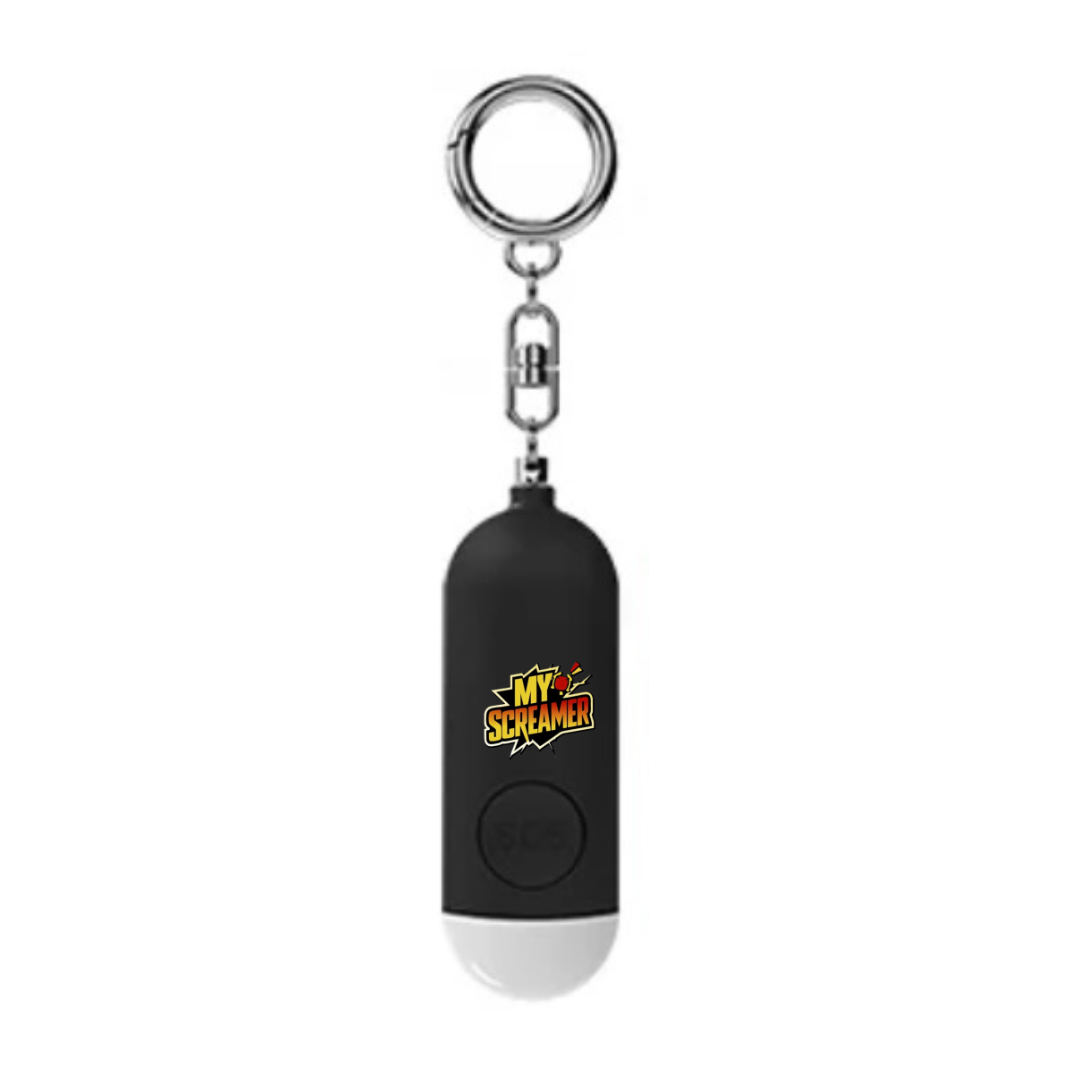
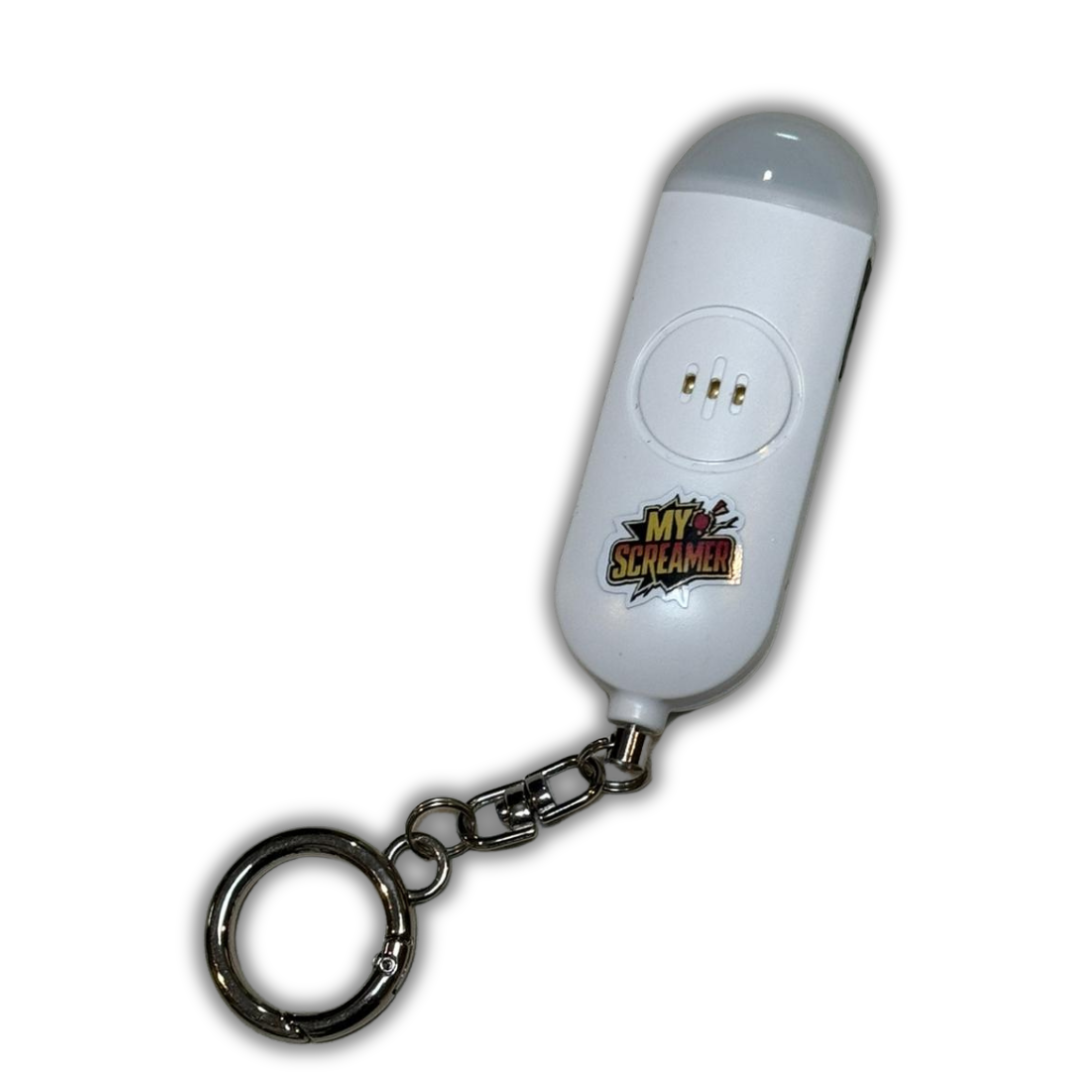
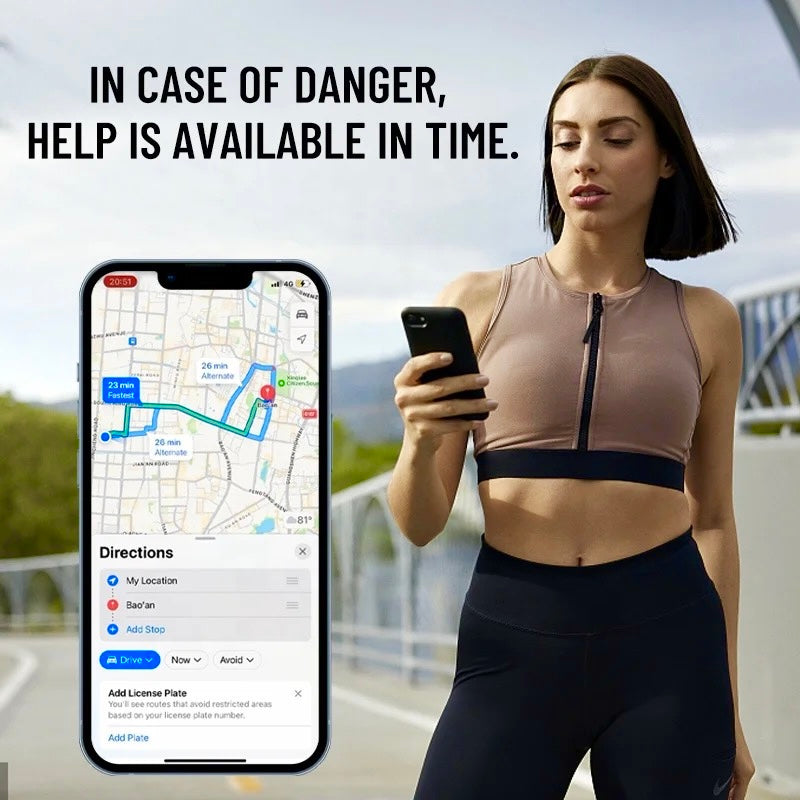
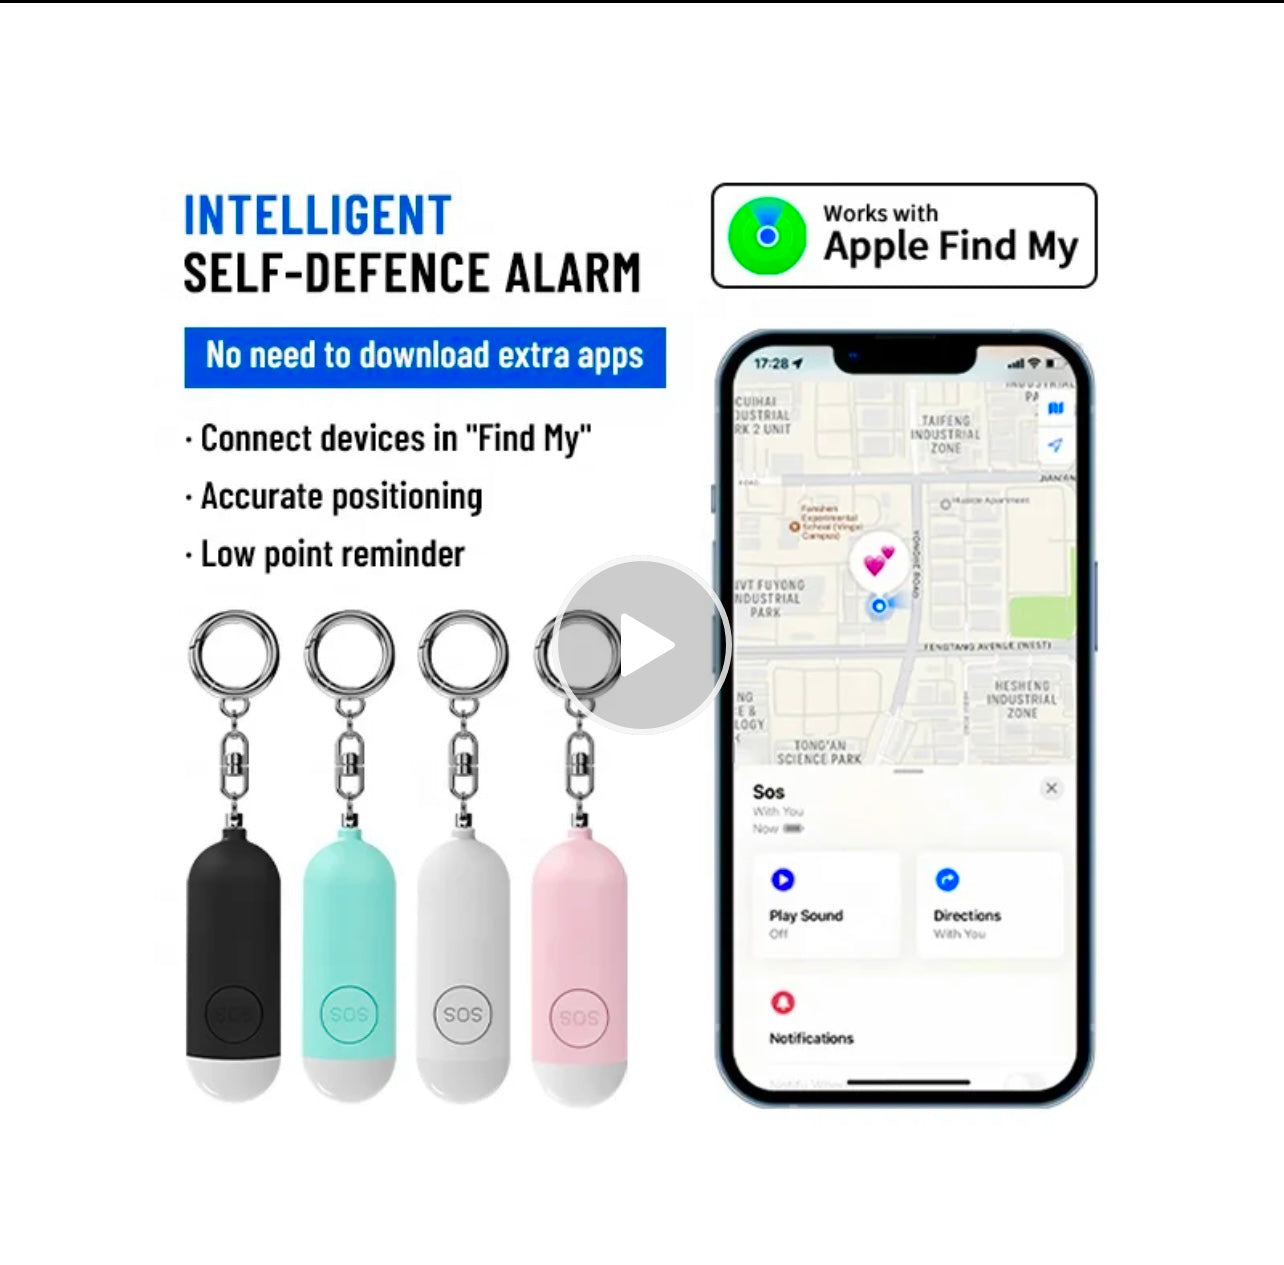
Introducing the MyScreamer+, your essential personal safety device designed for seamless integration with Apple devices. Compact and powerful, it features real-time location tracking and a high-decibel alarm with LED light for emergencies. With up to 6 months of standby time and a quick 2-hour charge, the MyScreamer+ ensures you're always protected and connected. Ideal for any situation, it's your reliable companion for peace of mind wherever you go.
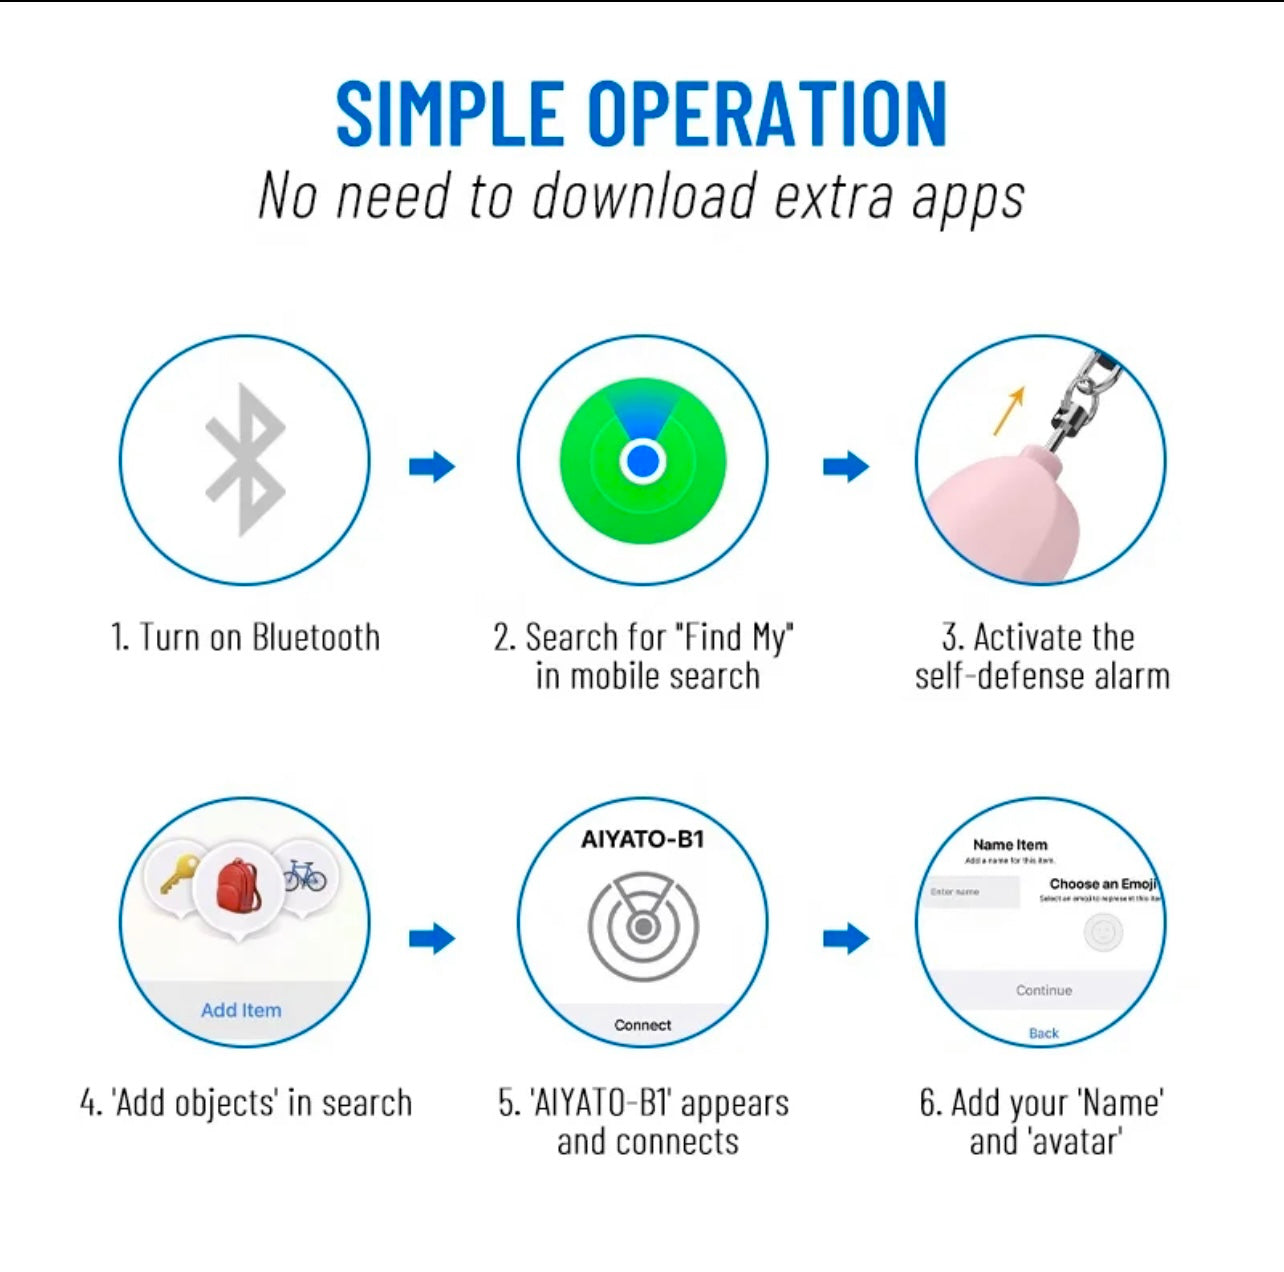
GETTING STARTED
A Add Your Safety Alarm to the FIND MY APP
- Start the App:
- Open the Find My app on your iPhone or iPad and allow notifications.
- Connect Safety Alarm:
- Turn on the Safety Alarm.
- In the Find My app, tap "Items," then "Other Supported Item."
- Select your Safety Alarm and tap "Continue" to add it to your Apple ID.
B Locate Your MyScreamer+
- When Nearby:
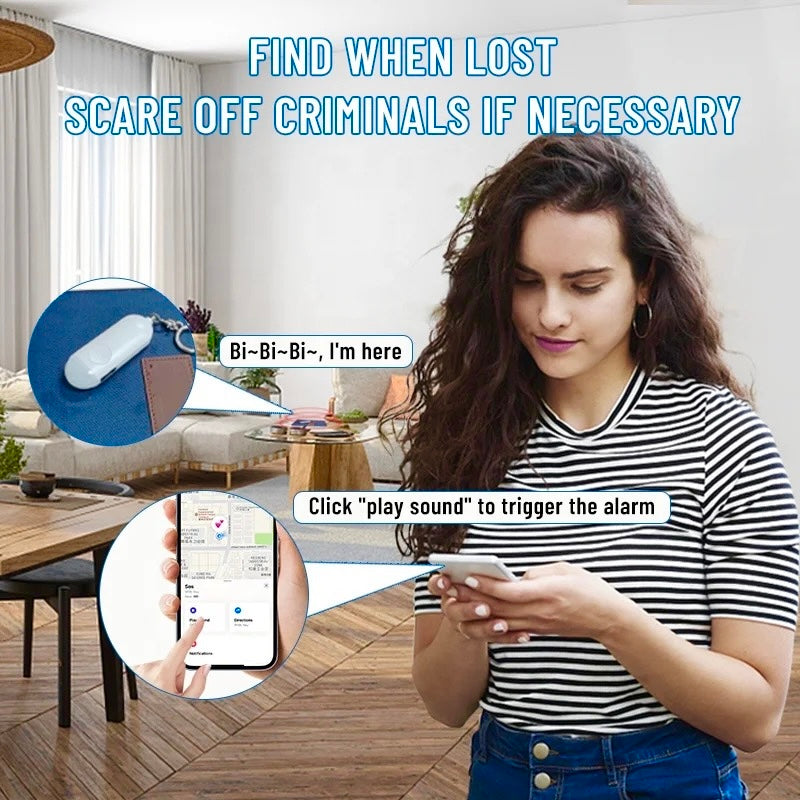
- In the Find My app, select your Safety Alarm and tap "Play Sound."
- Last Known Location:
- In the Find My app, select your Safety Alarm to see its last known location on the map.
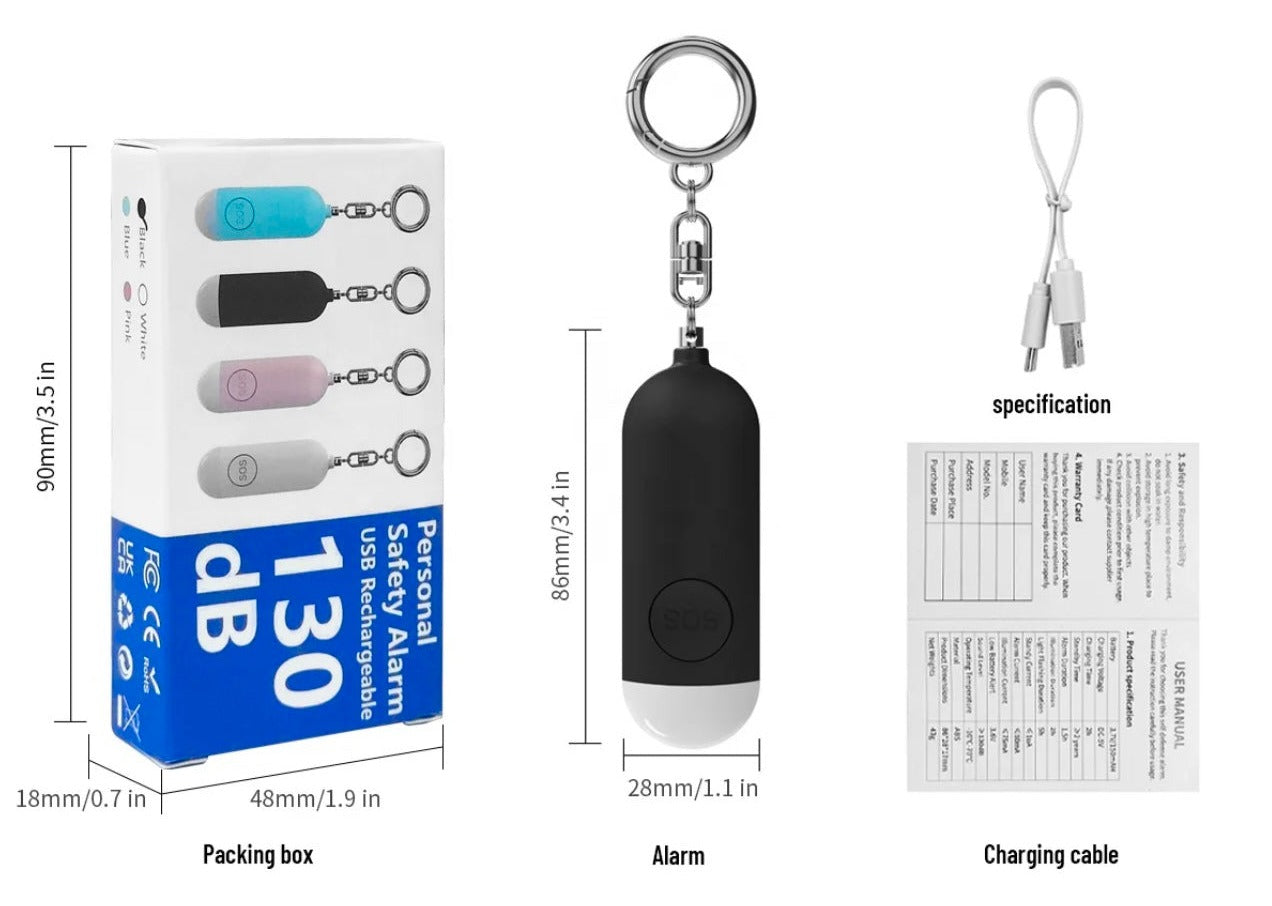
TECHNICAL SPECIFICATIONS
- Battery: 3.7V/150mAH, 6 months standby time, 2 hours charging time
- Alarm Duration: 1.5 hours
- Light Flashing Duration: 5 hours
- Alarm Current: ≤80mA @3.7V
- Low Battery Alert: 3.3V
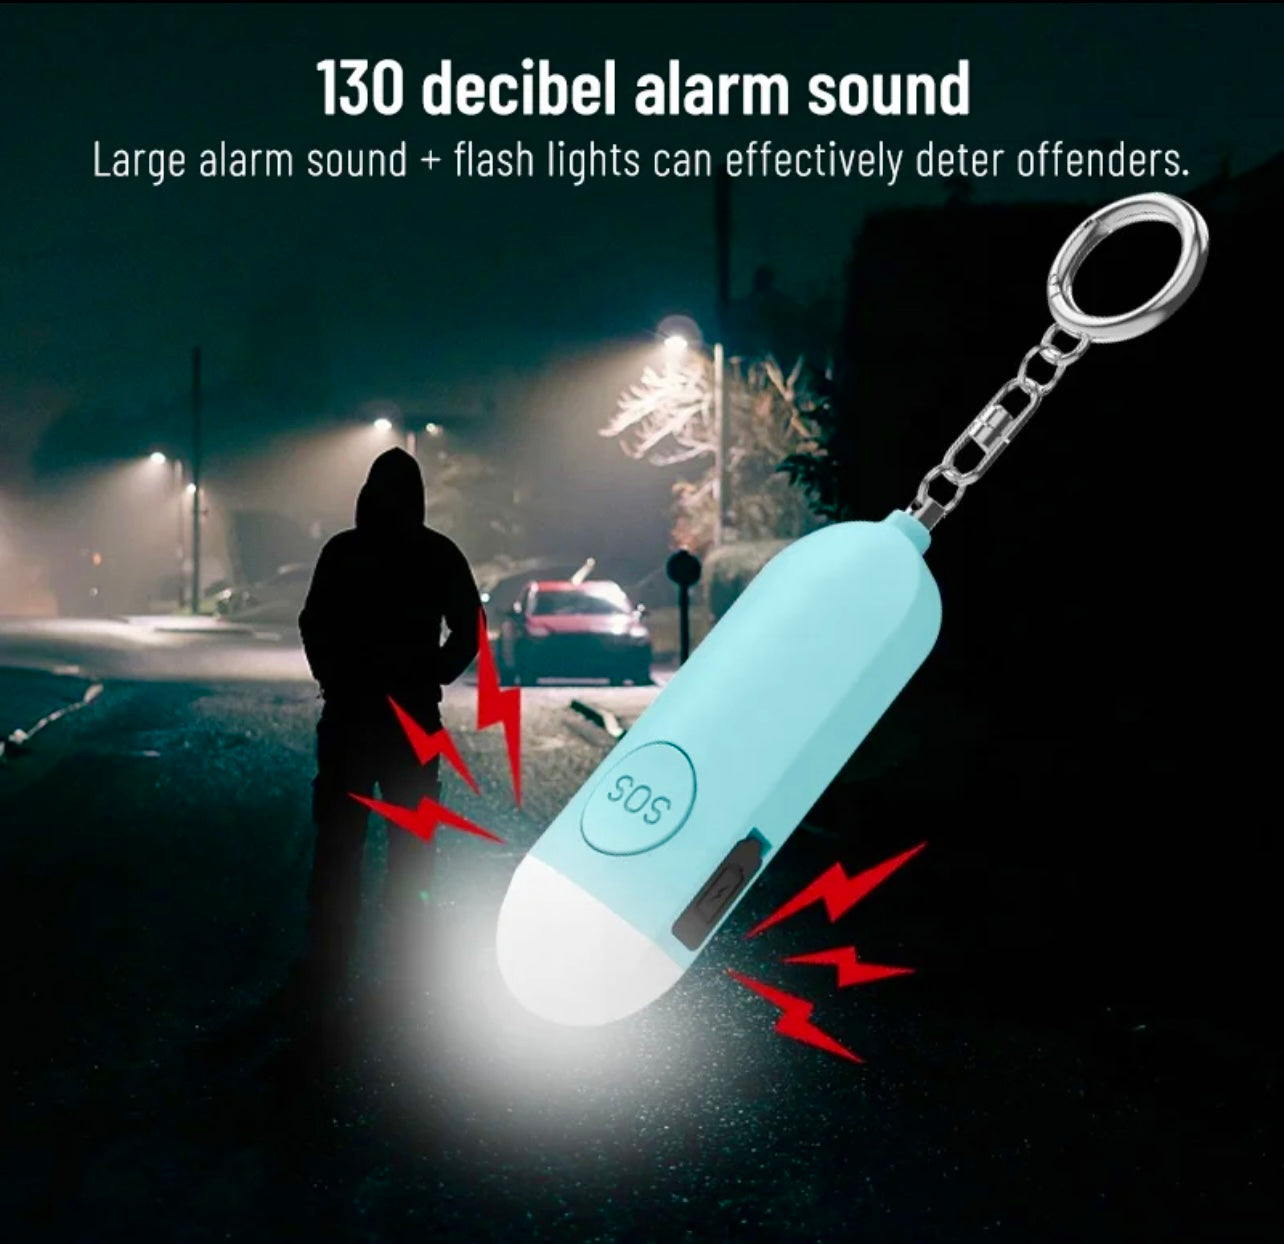
- Sound Level: ≥130dB
- Operating Temperature: -10°C to 60°C
- Material: ABS
- Dimensions: 86x28x17mm
- Weight: 43g
FULL INSTRUCTIONS
Getting Started
1. Find My Function On/Off:
- On: Press LED Light Button once to turn it on.
- Off: Press and hold the button over 10 seconds.
- Unbind the device: Click the button over 5 times and then hold it over 3 seconds till hear one-second beep.
2. Check For Updates:
- To use the Apple® Find My® app to locate Safety Alarm the latest version of iOS®, iPadOS®, or macOS® is recommended. The Find Items app on Apple Watch® requires the latest version of watchOS®.
A. Add Your Safety Alarm
1. Start the App
- Open the Find My app on your supported iPhone® or iPad®.
- Allow notifications from the app.
2. Connect your Safety Alarm
- Power on your Safety Alarm;
- Open "Find My" APP, and tap "Items", then "Other Supported Item"
- Choose a recognizable name (usually AITO-xx) and emoji for your Safety Alarm and tap "Continue".
- Find My will ask for confirmation to add your Safety Alarm to your Apple ID- tap "Continue".
- Tap "Finish" and your Safety Alarm will be set up and ready to be connected to whatever item you wish to locate, e.g., your bag.
B. Locate Your Item
1. Find Safety Alarm when it is Nearby
- Open the Find My app and select the "Items" tab or open the Find Items app on your Apple Watch.
- Tap your Safety Alarm from the list.
- Tap "Play Sound" to make Safety Alarm beep.
- Tap "Stop Sound" to stop the beeps once you find your item.
2. Find Safety Alarm Last Known Location
- Open the Find My app and select the "Items" tab or open the Find Items app on your Apple Watch.
- Tap on your Safety Alarm from the list:
- Your Safety Alarm's last known location will appear on the map.
- To navigate to that last known location, tap "Directions" to open the Maps app.
C. Find Item When Out of Range
1. Enabling "Notify When Left Behind"
- Open Find My app to select the "Items" tab or open the Find Items app on your Apple device.
- Tap on your Safety Alarm from the list.
- Under "Notifications", enable the "Notify When Left Behind" toggle.
- You will receive a notification when you leave your Safety Alarm behind and it's no longer in range of your device.
2. Enabling "Notify When Found"
- Under "Notifications", enable the "Notify When Found" toggle.
- When your Safety Alarm is seen by another Find My enabled device, you will receive a notification of its updated location.
- Note: "Notify When Found" can only be activated when your Safety Alarm is out of range.
D. How to deal with device loss
1. Enabling "Lost Mode"
- Open the Find My app and select the "Items" tab or open the Find Items app on your Apple Watch.
- Tap on your Safety Alarm from the list.
- Under "Lost Mode", tap "Enable".
- A screen detailing Lost Mode will pop up, tap "Continue".
- Enter your phone number or email address and tap "Next".
- You may enter a message that will be shared with the person that finds your item.
- Tap "Activate" to enable "Lost Mode".
- Note: When "Lost Mode" is enabled, "Notify When Found" is automatically enabled.
- Note: When "Lost Mode" is enabled, your Safety Alarm is locked and cannot be paired to a new device.
E. Product specification
- Battery: 3.7V/150mAH
- Charging Time: 2h
- Alarm Duration: 1.5h
- Light Flashing Duration: 5h
- Alarm Current: ≤80mA @3.7V
- Low Battery Alert: 3.3V
- Sound Level: ≥130dB
- Operating Temperature: -10°C - 60°C
- Material: ABS
- Product Dimensions: 862817mm
- Net Weight: 43g
- Charging Voltage: DC-5V
- Standby Time: 6 months
- Illumination Duration: 2h
- Standby Current: ≤45uA
- Illumination Current: ≤75mA @3.7V
F. Alarming Function
Alarming Function
- Pull the latch to sound the alarm. The LED will start flashing at the same time (Refer to the below picture).
- Press the SOS button for 1s, the alarm will sound, and the led starts flashing.
- Long press the SOS button for 3 seconds, the alarming will be turned off.
LED Function
- Press the LED light button to turn on the light. Press again to start flashing mode. Press a third time to turn off the LED light.
Charging Function
- Red light on during charging. Extinguish when charging is complete.
Notice
- When testing the alarm, do not hold it close to ears.
When testing the LED light, do not aim at eyes